How to Combine Images with AI - Quick Start Guide
Learn how to combine images with AI in this quick 5-minute guide. Welcome to the AI Image Merge tool! This quick start guide will help you master the basic usage in 5 minutes.
I remember when I first discovered how to combine images with AI - I was both excited and a bit overwhelmed. The possibilities seemed endless, but I wasn't sure where to start. This guide will walk you through the basics of combining images in just 5 minutes, sharing the same steps I wish someone had shown me when I began.
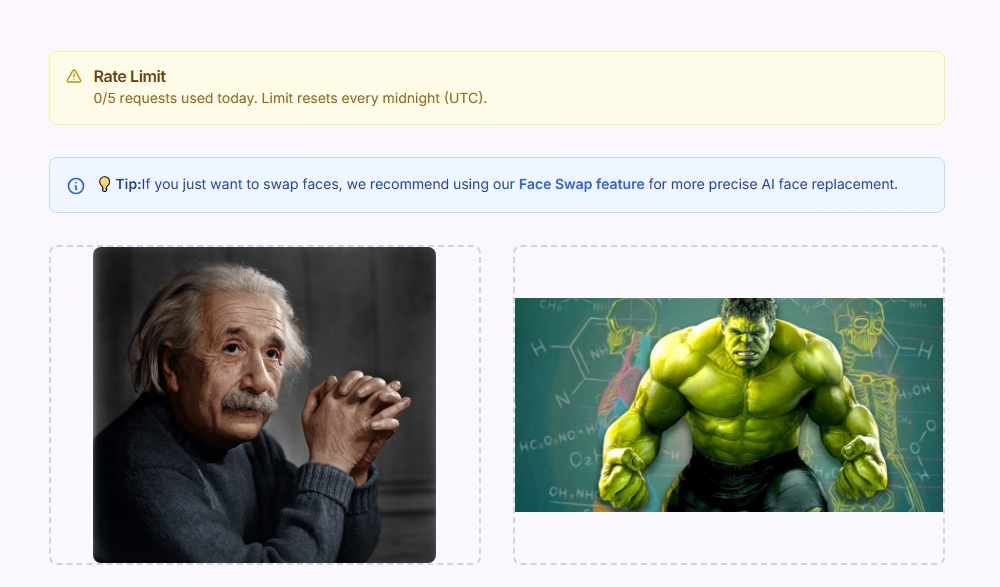
Step 1: Upload Images
First, you need to upload two images to merge. You can upload images by clicking or dragging.
This might seem obvious, but choosing the right images is crucial. I learned this the hard way - my first few attempts used images that were too different in style or lighting, and the results were... well, let's just say they weren't great.
- Supports JPG and PNG formats
- Recommended resolution between 512x512 and 2048x2048
- Single image size not exceeding 5MB
Pro tip: I usually keep a folder of high-quality images ready to go. Saves a lot of time when you want to experiment!
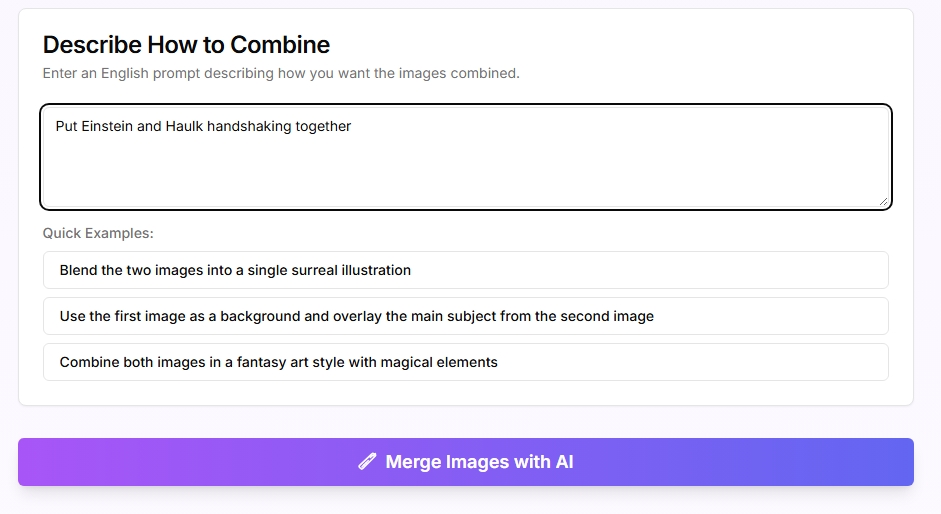
Step 2: Describe Merge Method
Describe in the text box how you want to merge these two images. The more detailed the description, the better the result.
This is where the magic happens! I used to be really vague with my descriptions, like "make it look cool." That never worked well. Be specific about what you want - the AI can't read your mind (yet).
Example Descriptions
- ✨ Put Einstein and Haulk handshaking together
- ✨ Merge two images in watercolor style
- ✨ Create a dreamy scene with natural transition between two images
Personal experience: I've found that mentioning specific styles (like "watercolor" or "cyberpunk") tends to work better than vague terms like "artistic."
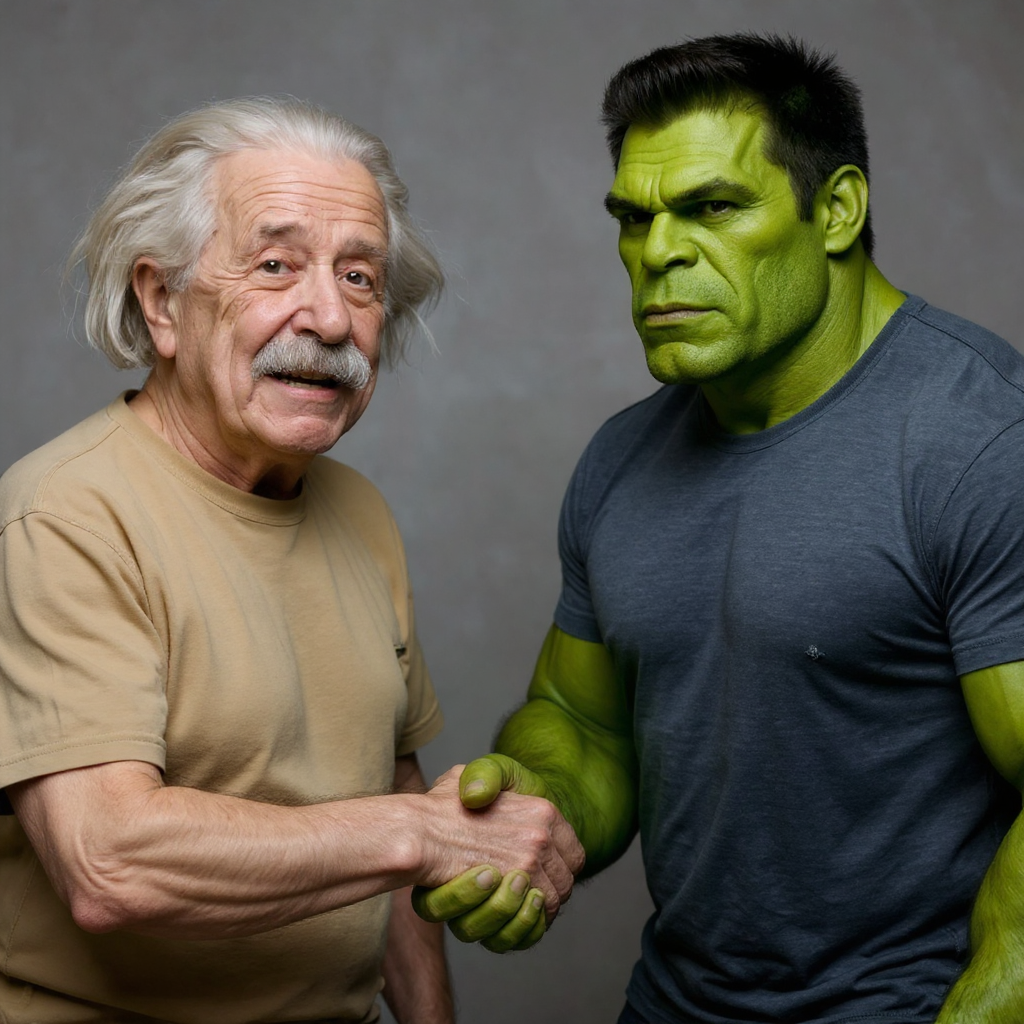
Step 3: Generate and Download
Click the "AI Smart Image Merge" button and wait 30-60 seconds to see the merge result.
This is the exciting part! I always get a bit impatient during this step, but good things take time. The AI is doing some serious computational heavy lifting to create your unique image.
Important Notes
- Processing time depends on server load, please be patient
- Each IP has 3 free uses per day
Fun fact: I've learned to use this waiting time to think about my next project or grab a coffee. The results are always worth the wait!
Common Beginner Mistakes (I Made These Too!)
Let me save you some time by sharing the mistakes I made when I first started:
Being Too Vague
"Make it look good" doesn't give the AI much to work with. Be specific about what you want.
Rushing the Process
I used to click the button multiple times thinking it would speed things up. It doesn't - just be patient!
Not Saving Good Results
I've lost some amazing creations because I forgot to download them. Always save what you like!
Quick Tips That Actually Work
Before You Start
- Have your images ready - nothing kills creativity like hunting for files
- Think about your description while images upload - saves time
- Close other heavy apps - AI processing needs computer power
While Processing
- Don't refresh the page - you'll lose your progress
- Use this time to plan your next creation
- Keep the tab open - results appear automatically
What to Expect (The Reality Check)
Let me be honest about what you'll experience:
- Your first few attempts might be... interesting. That's totally normal!
- Sometimes the AI surprises you with unexpected but cool results
- You'll get better with practice - I definitely did
- Not every combination works, and that's okay
Remember: Every "failed" attempt teaches you something. I've learned more from my weird results than my perfect ones!
Next Steps
Congratulations on completing the quick start! Next, you can learn more advanced techniques:
Now that you've got the basics down, here's where you can really start having fun. I've organized these tutorials based on what I wish I'd learned next when I was starting out.
Image Selection Guide
Learn how to select the best images for merging
Prompt Writing Techniques
Master the art of writing effective prompts
Combine Images with AI - Basic Merge
Learn essential techniques to combine images with AI using layered composition, color harmony, and subject integration.
Style Transfer When Combining Images
Apply artistic styles to your combined images for professional results.