Interface Guide
When I first opened the AI image merging tool, I was a bit overwhelmed by all the buttons and options. I remember thinking "Where do I even start?" This guide will walk you through every part of the interface, sharing the tips and tricks I've learned along the way.
Don't worry if it looks complicated at first - once you understand what each section does, it becomes surprisingly intuitive. I'll show you exactly what to click and when.
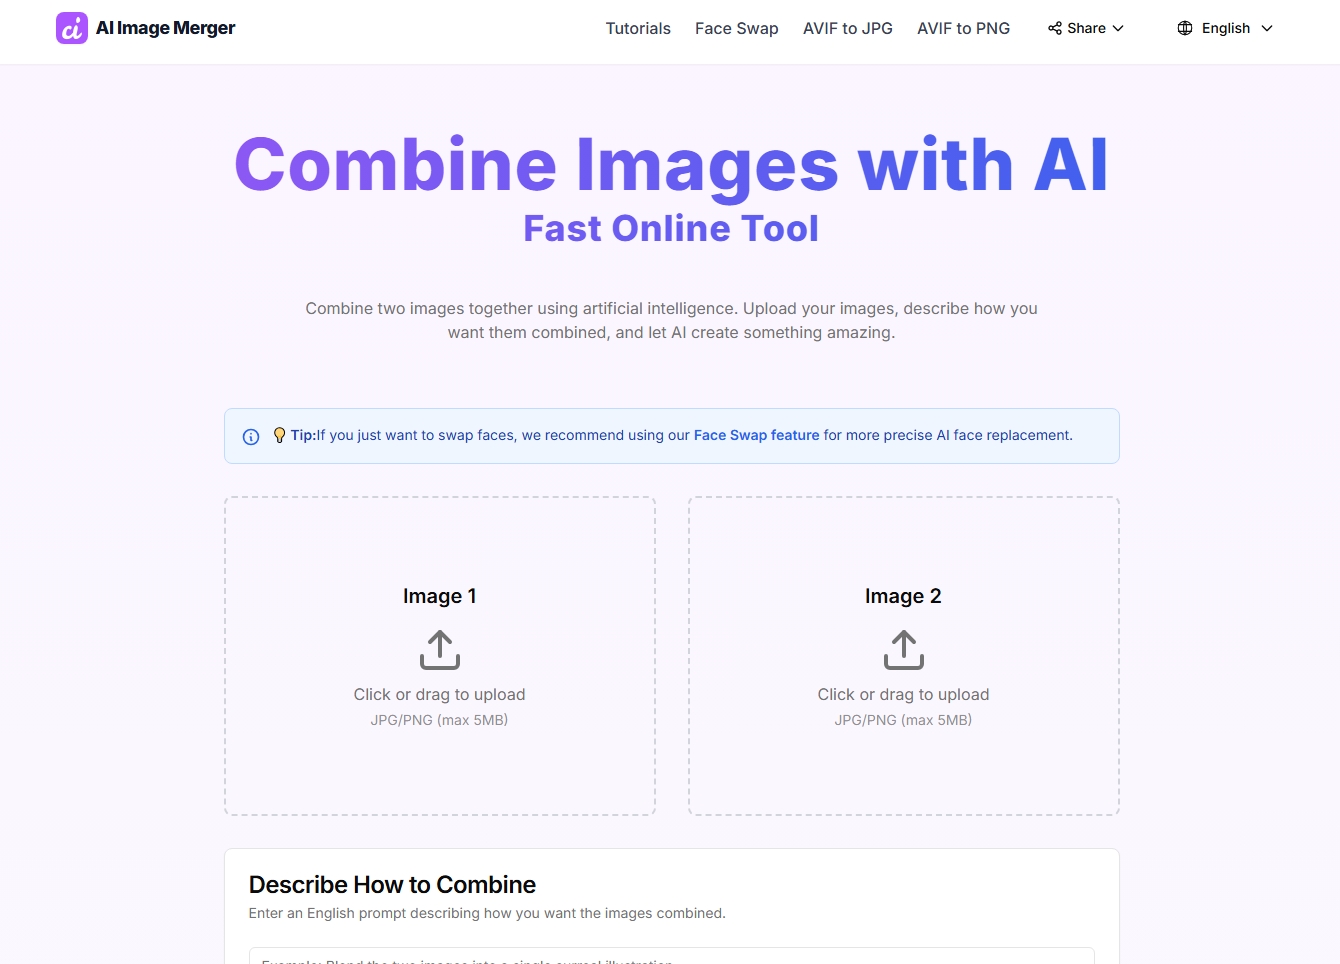
The Main Interface - Your Creative Workspace
Think of the interface as your digital art studio. Everything is laid out logically - upload area on the left, description in the middle, and results on the right. I've found that understanding the layout makes the whole process much smoother.
The first time I used it, I was clicking around randomly. Now I have a workflow that feels natural - upload, describe, wait, download. Simple!
Pro Tip
I always start from the top and work my way down. It helps me stay organized and not miss any important steps.
The Upload Section - Where It All Begins
Image Upload Areas
You'll see two upload boxes - one for each image. I used to get confused about which image goes where, but here's the trick: the first image is usually your "base" or "background," and the second is what you want to merge into it.
- Click or drag images into the boxes
- Supported formats: JPG, PNG (up to 5MB each)
- You'll see a preview once uploaded
- You can replace images by clicking again
Personal experience: I always upload my background image first, then my subject image. It helps me visualize the final result.
Rate Limit Indicator
This little counter shows how many merges you have left for the day. I learned to pay attention to this early on - nothing's worse than getting excited about a creation and running out of attempts!
Current limit: 3 merges per day per IP address
Resets at midnight UTC
I use this to plan my creative sessions - I save my best ideas for when I have plenty of attempts left!
The Description Box - Your Creative Voice
Writing Your Description
This is where the magic happens! I used to write really vague descriptions like "make it look cool," but that never worked well. The AI needs specific instructions to understand what you want.
Think of it like giving directions to an artist. Instead of saying "paint something nice," you'd say "paint a sunset over the ocean with warm orange and pink colors."
What Works Best
- • Specific styles: "watercolor," "cyberpunk," "vintage"
- • Mood descriptions: "dreamy," "dramatic," "peaceful"
- • Composition details: "background," "foreground," "center"
- • Lighting: "soft lighting," "dramatic shadows"
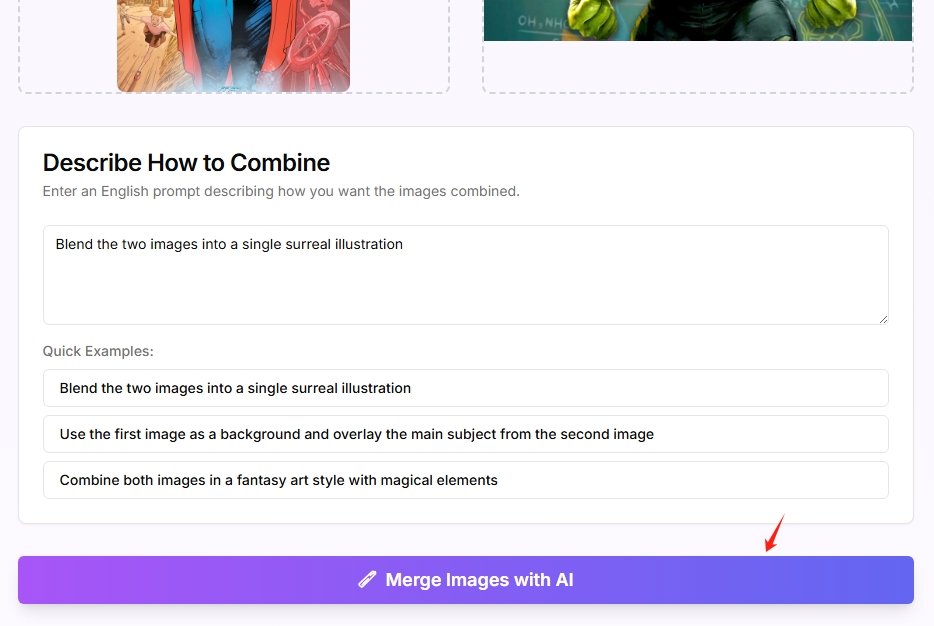
Quick Examples
Don't know what to write? Here are some examples I've used successfully:
"Merge the cat into the forest scene with soft, natural lighting"
"Create a cyberpunk cityscape with neon lighting and rain"
"Blend the portrait with a watercolor background in warm tones"
I keep a note of descriptions that worked well - it saves time when I want to recreate similar effects!
The Merge Button - The Moment of Truth
When You're Ready
This is the button that starts the magic! I always take a deep breath before clicking it - there's something exciting about not knowing exactly what you'll get back.
The button will be disabled until you have both images uploaded and a description written. I used to get frustrated when it wouldn't let me click, but now I understand it's just making sure I have everything ready.
What Happens Next
- • Button changes to "Processing..."
- • Progress indicator appears
- • Don't refresh the page!
- • Usually takes 30-60 seconds
The Results Section - Your Creation Awaits
What You'll See
Once processing is complete, your merged image will appear here. I always get a little excited when the result loads - sometimes it's exactly what I imagined, sometimes it's completely different but amazing!
- High-quality PNG format
- Same resolution as your input images
- Ready to download immediately
- You can create variations by changing the description
I always save my favorite results - you never know when you'll want to use them later!
Download Options
The download button appears as soon as your image is ready. I've learned to download immediately - you never know when you might accidentally close the tab or lose your connection.
Download PNG
High-quality image file
Create New
Start a fresh merge
I usually download first, then decide if I want to create a variation with different settings.
Common Interface Mistakes (I've Made Them All!)
Here are the interface mistakes I made when I first started - learn from my errors!
Refreshing During Processing
I lost several creations this way. Once you click merge, just wait - don't touch anything!
Forgetting to Download
I've lost some amazing results because I forgot to download them. Always save what you like!
Ignoring the Rate Limit
I used to burn through my daily limit on mediocre attempts. Now I save my best ideas for when I have plenty of attempts left.
Pro Tips for Interface Mastery
Workflow Optimization
- Have your images ready before starting
- Write your description while images upload
- Use the waiting time to plan your next creation
- Keep a folder of favorite results
I've developed a rhythm that makes the whole process feel smooth and efficient.
Interface Shortcuts
- Drag and drop images for faster upload
- Use the "Create New" button to start fresh
- Keep the tab open during processing
- Bookmark the page for easy access
These small tricks save me a lot of time when I'm in a creative flow.
Ready to Start Creating?
Now that you understand the interface, it's time to put your knowledge to work. I've organized these next tutorials to build on what you've learned about the interface.